So I’m working at a huge software company and in my department we have this nice tradition of lunch-talks. The company buys pizza and we all eat it, while one hungry person gives ~1h talk. (Well, that was before the pandemic, now everything is remote and we have to fend for ourselves.)
Most of the topics are work related, e.g. about new technology, cool open-source projects, and latest developments in our own software. But there is also a lot of other stuff: hobby IT projects, soft skills, charity, you name it…
I’ve given lunch-talks myself in the past, mostly on security topics (e.g. XSS and other injection vulnerabilities). I’ve also had this idea floating around for years, that I’d like to give a lunch-talk about analogies between biology and computer science. But I’m not a great presenter and it takes me a lot of preparation work to compensate for that. So I’ve just been too lazy to implement this idea. Well, it turns out that someone has beaten me to it. And he did a brilliant job at it. And not just one talk, but two, but more about that later…
Or biting his style?
Let me first explain, how I found out about it in the first place. I was searching for information on RNA vaccines, and somehow I stumbled upon this article about Reverse Engineering the source code of the BioNTech/Pfizer SARS-CoV-2 Vaccine.
That’s a very cool article by itself, but it also pointed me to this other one, by the same author: DNA seen through the eyes of a coder. Turns out that page has been around since the early 2000s and it’s been constantly updated and improved.
Not only that, but the author (Bert Hubert) has also put most of the contents into two talks:
There’s also an dedicated article summarizing both talks, with videos embedded, slides for download, and heaps of links.
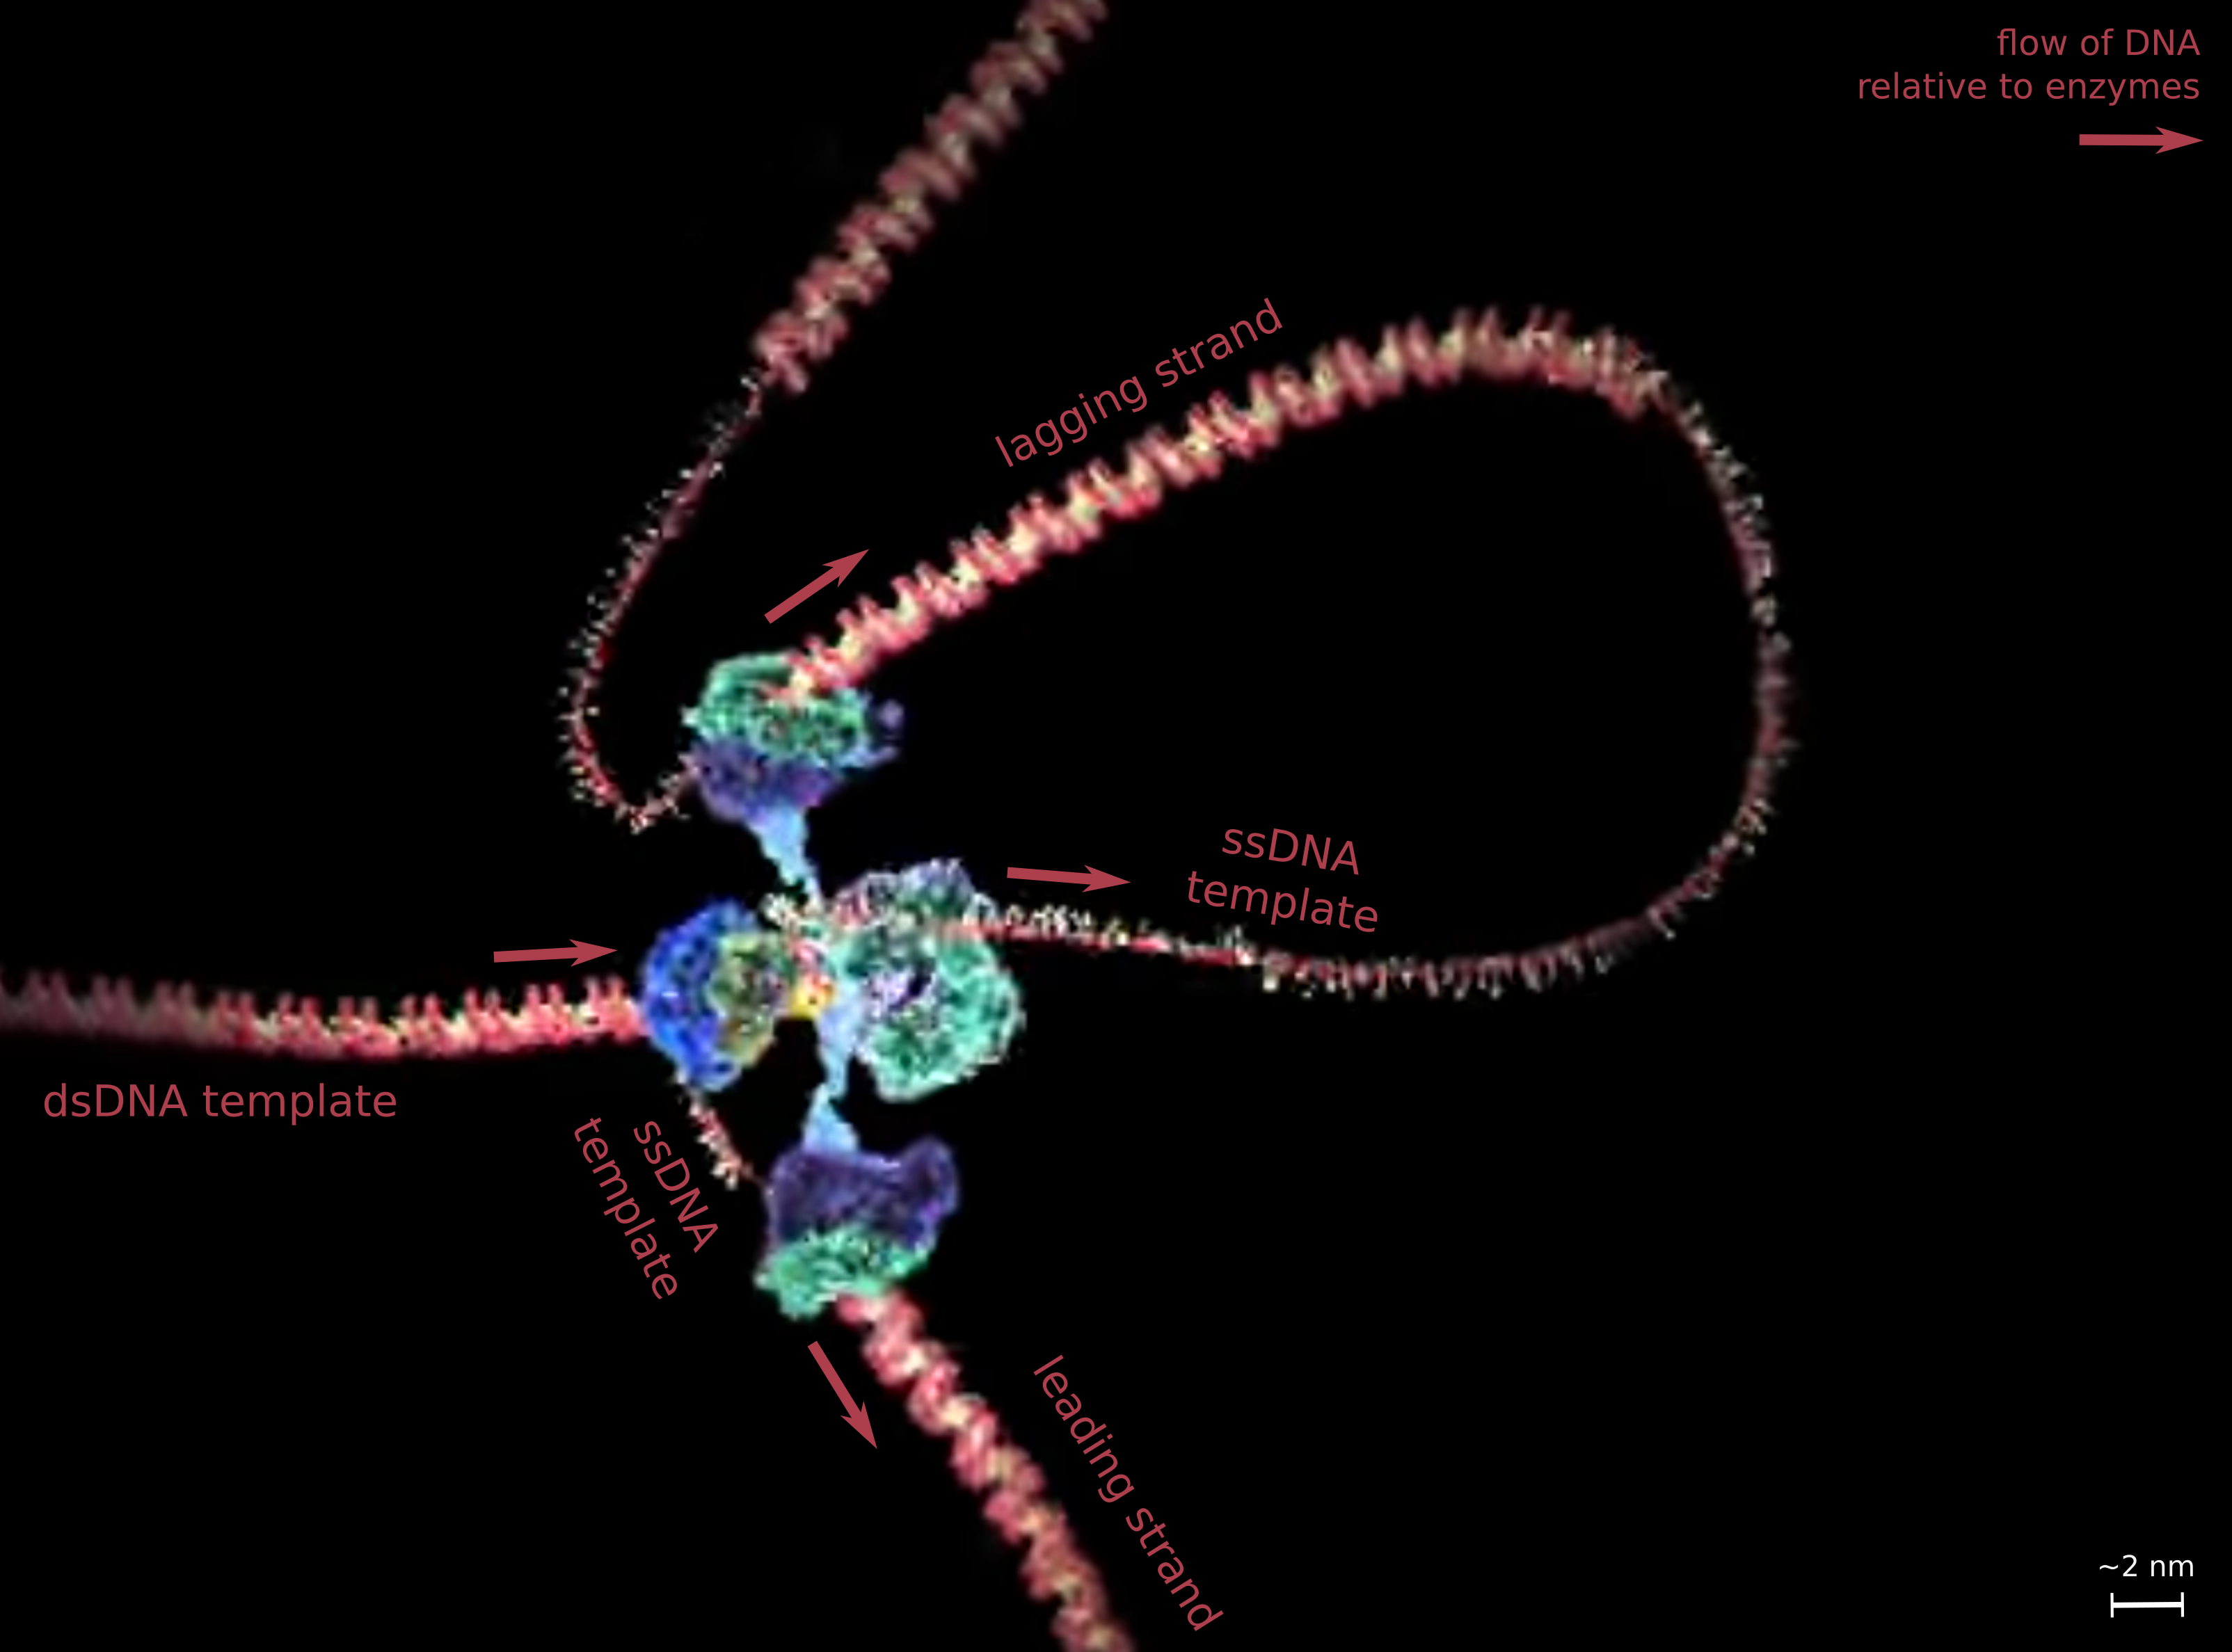
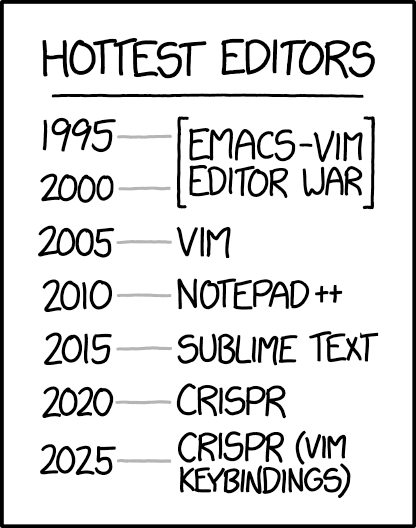
These talks touch on almost every topic that I had envisioned for my own lunch-talk. They cover DNA and RNA basics, chromosomes, proteins, ribosomes, the genetic code, the central dogma, genes and other types of DNA, promotion, repression, regulation, splicing, HOX genes, CRISPR-Cas9, etc. And they point out really interesting analogies to computing phenomena.
The talks also cover other biology topics, like evolution, the tree of life, RNA-world, LUCA, the three domains, viruses, horizontal gene transfer, epigenetics, endosymbiosis, and more. All of that is enriched with great examples and numbers, both from bio-technology (sequencing, editing) and from life itself. This includes comparisons of genome sizes, reproduction rates, the bacterial flagellum and how it is regulated in search for food, and the good old comparison between human and octopus eyes.
I’ll try to share some thoughts about specific contents of these talks. In the meantime, let me end with a random quote of the presenter:
Are we anthropomorphising nature, which it really hates?
— Bert Hubert, 2017